事件过滤器
我们为了实现点击界面某个位置判断是否隐藏搜索框的功能。我们期待当鼠标点击搜索列表之外的区域时显示隐藏搜索框恢复聊天界面。
点击搜索列表则不隐藏搜索框。可以通过重载ChatDialog的EventFilter函数实现点击功能
1 | bool ChatDialog::eventFilter(QObject *watched, QEvent *event) |
具体判断全局鼠标按下位置和功能
1 | void ChatDialog::handleGlobalMousePress(QMouseEvent *event) |
在ChatDialog构造函数中添加事件过滤器
1 | //检测鼠标点击位置判断是否要清空搜索框 |
这样就可以实现在ChatDialog中点击其他位置隐藏SearchList列表了。
查找结果
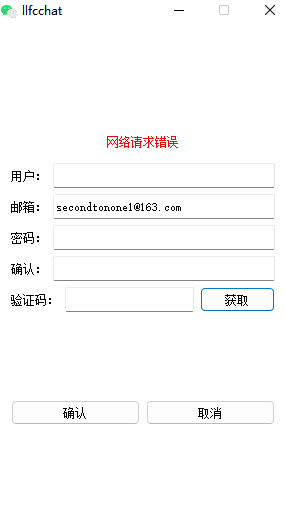
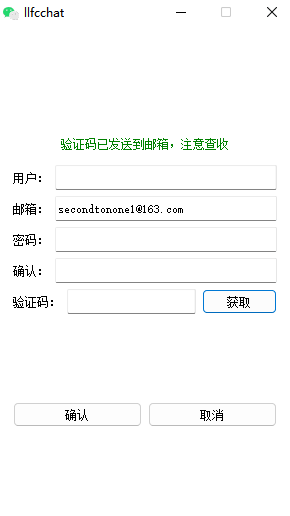
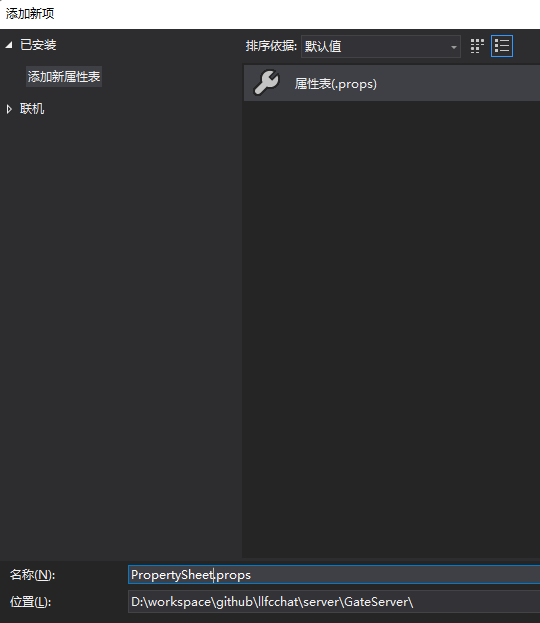
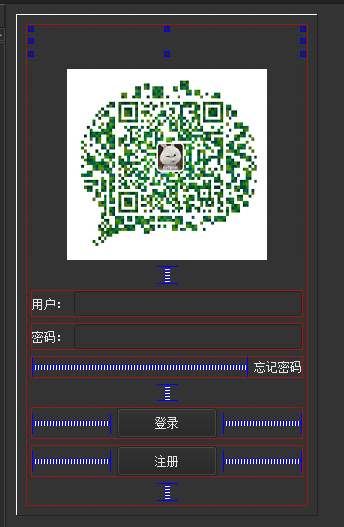
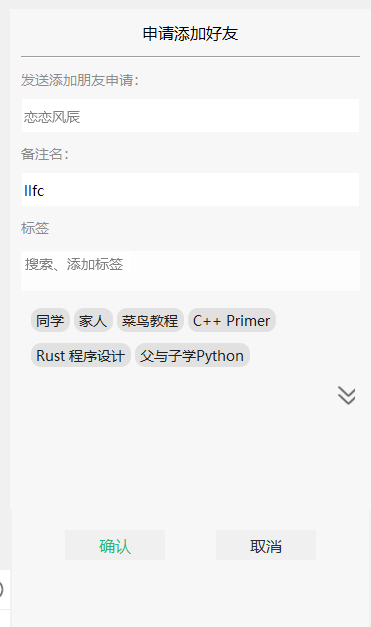
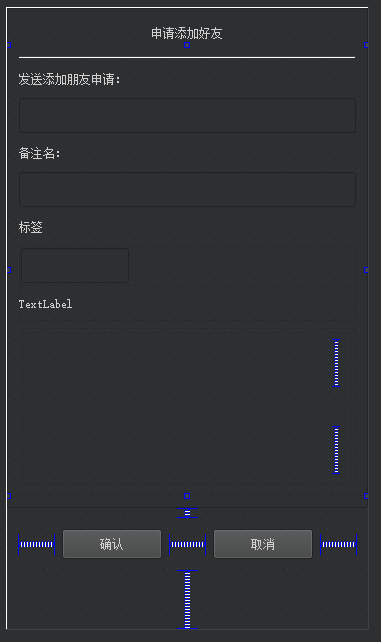
在项目中添加FindSuccessDlg设计师界面类,其布局如下
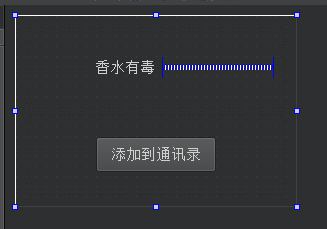
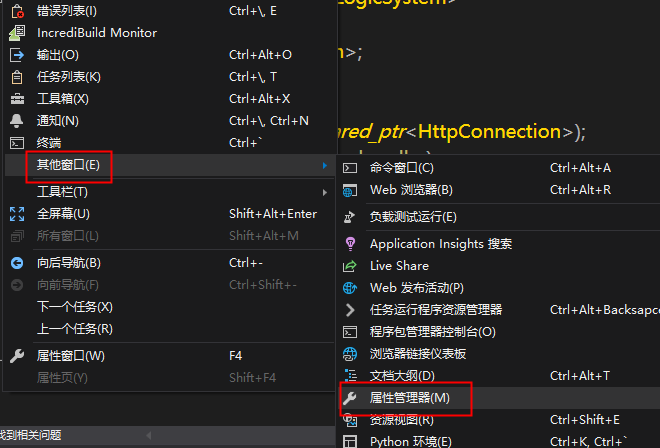
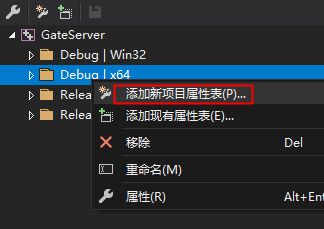
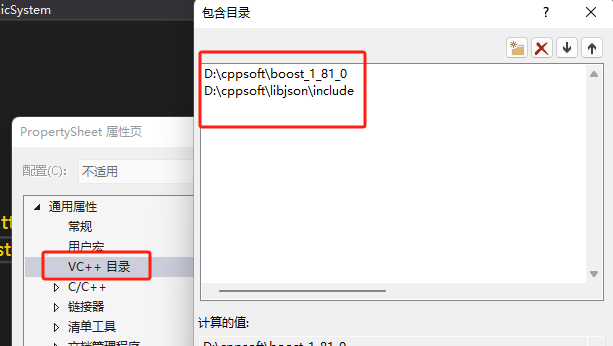
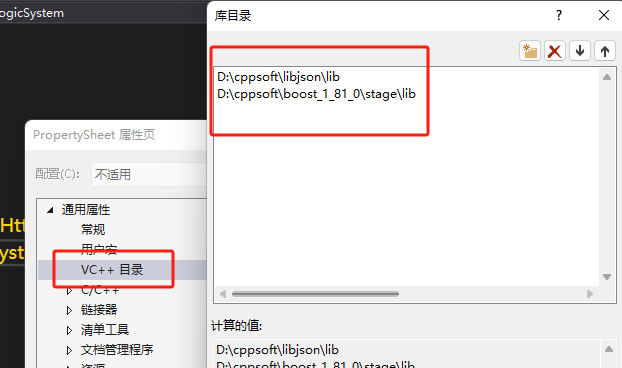
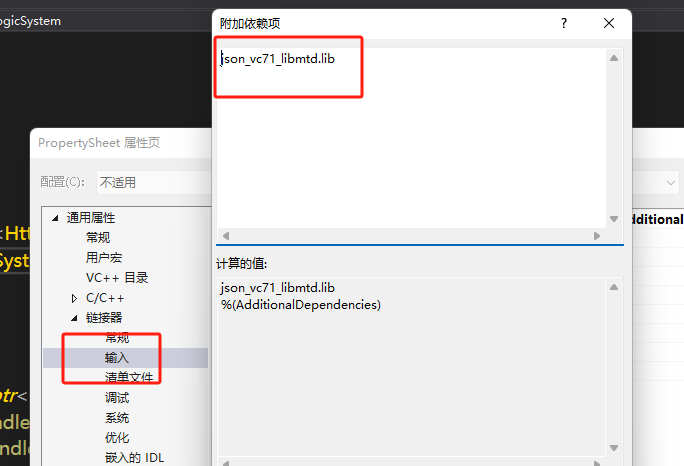
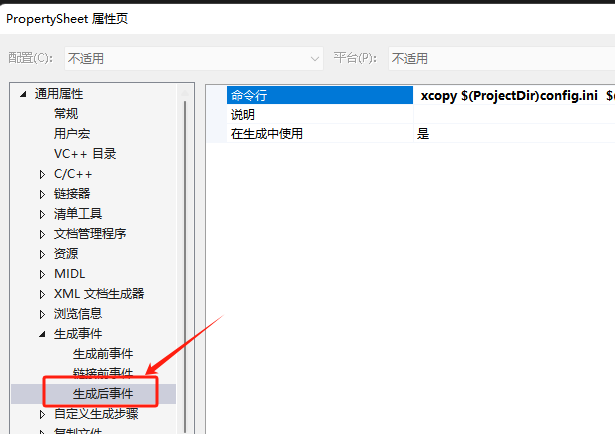
属性管理界面如下
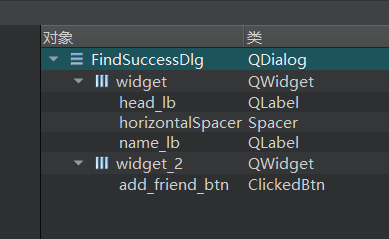
FindSuccessDlg声明如下
1 | class FindSuccessDlg : public QDialog |
FindSuccessDlg实现如下
1 | FindSuccessDlg::FindSuccessDlg(QWidget *parent) : |
在SearchList 的slot_item_clicked函数中添加点击条目处理逻辑
1 | void SearchList::slot_item_clicked(QListWidgetItem *item) |
这样我们在输入框输入文字,点击搜索列表中搜索添加好友的item,就能弹出搜索结果对话框了。这里只做界面演示,之后会改为像服务器发送请求获取搜索结果。
pro的改写
我们对项目的pro做了调整,更新了static文件夹的拷贝以及编码utf-8的设定
1 | QT += core gui network |
视频
https://www.bilibili.com/video/BV1ww4m1e72G/