QT 实现电子相册(五)--实现幻灯片的暂停和切换

状态切换按钮

我们之前制作过按钮类为PicButton,但是这次我们要制作另外一个按钮类,主要是实现状态切换,比如当前是播放状态,那么按钮就显示出暂停的图标,点击暂停后切换为播放的图标。同时还要支持滑动,点击,正常的三种效果。
PicStateBtn构造函数

1
2
3
PicStateBtn::PicStateBtn(QWidget *parent ):QPushButton (parent){

}

添加一个函数设置播放状态和暂停状态的图标

1
2
3
4
5
6
7
8
9
10
11
12
13
14
15
16
17
18
void PicStateBtn::SetIcons(const QString &normal, const QString &hover, const QString &pressed,
const QString &normal_2, const QString &hover_2, const QString &pressed_2)
{
_normal = normal;
_hover = hover;
_pressed = pressed;

_normal_2 = normal_2;
_hover_2 = hover_2;
_pressed_2 = pressed_2;

QPixmap tmpPixmap;
tmpPixmap.load(normal);
this->resize(tmpPixmap.size());
this->setIcon(tmpPixmap);
this->setIconSize(tmpPixmap.size());
_cur_state = PicBtnStateNormal;
}

normal,hover,pressed分别表示播放状态正常,悬浮,点击的效果。
_normal_2,_hover_2,_pressed_2分别表示暂停状态正常,悬浮,点击的效果。
_cur_state表示现在是上述六种状态的哪一种,具体定义在const.h文件里

1
2
3
4
5
6
7
8
enum PicBtnState {
PicBtnStateNormal = 1,
PicBtnStateHover = 2,
PicBtnStatePress = 3,
PicBtnState2Normal = 4,
PicBtnState2Hover = 5,
PicBtnState2Press = 6,
};

对应的我们实现了六种状态的加载函数

1
2
3
4
5
6
7
8
9
10
11
12
13
14
15
16
17
18
19
20
21
22
23
24
25
26
27
28
29
30
31
32
33
34
35
36
37
38
39
40
41
42
43
44
45
46
47
48
49
50
void PicStateBtn::setNormalIcon(){
qDebug()<<"setNormalIcon _normal " << _normal << endl;
QPixmap tmpPixmap;
tmpPixmap.load(_normal);
this->setIcon(tmpPixmap);
_cur_state = PicBtnStateNormal;
}

void PicStateBtn::setHoverIcon(){
qDebug()<<"setHoverIcon _hover " << _hover << endl;
QPixmap tmpPixmap;
tmpPixmap.load(_hover);
this->setIcon(tmpPixmap);
_cur_state = PicBtnStateHover;
}

void PicStateBtn::setPressIcon(){
qDebug()<<"setPressIcon _pressed " << _pressed << endl;
QPixmap tmpPixmap;
tmpPixmap.load(_pressed);
this->setIcon(tmpPixmap);
_cur_state = PicBtnStatePress;
}

void PicStateBtn::setNormal2Icon()
{
qDebug()<<"setPressIcon _normal_2 " << _normal_2 << endl;
QPixmap tmpPixmap;
tmpPixmap.load(_normal_2);
this->setIcon(tmpPixmap);
_cur_state = PicBtnState2Normal;
}

void PicStateBtn::setHover2Icon()
{
qDebug()<<"setPressIcon _hover_2 " << _hover_2 << endl;
QPixmap tmpPixmap;
tmpPixmap.load(_hover_2);
this->setIcon(tmpPixmap);
_cur_state = PicBtnState2Hover;
}

void PicStateBtn::setPress2Icon()
{
qDebug()<<"setPressIcon _pressed_2 " << _pressed_2 << endl;
QPixmap tmpPixmap;
tmpPixmap.load(_pressed_2);
this->setIcon(tmpPixmap);
_cur_state = PicBtnState2Press;
}

接下来实现鼠标滑动,点击,以及正常效果的切换,我们重写event

1
2
3
4
5
6
7
8
9
10
11
12
13
14
15
16
17
18
19
20
21
22
23
24
25
26
27
28
29
30
31
32
33
34
35
36
37
38
39
40
bool PicStateBtn::event(QEvent *event)
{
switch (event->type())
{
case QEvent::Enter:
if(_cur_state < PicBtnState2Normal){
setHoverIcon();
}else{
setHover2Icon();
}

break;
case QEvent::Leave:
if(_cur_state < PicBtnState2Normal){
setNormalIcon();
}else{
setHover2Icon();
}

break;
case QEvent::MouseButtonPress:
if(_cur_state < PicBtnState2Normal){
setPressIcon();
}else{
setPress2Icon();
}

break;
case QEvent::MouseButtonRelease:
if(_cur_state < PicBtnState2Normal){
setHover2Icon();
}else{
setHoverIcon();
}
break;
default:
break;
}
return QPushButton::event(event);
}

上述根据现在是播放状态还是暂停状态,再根据鼠标事件设置图标。
另外我们需要实现开始和暂停的切换效果,所以新增两个槽函数

1
2
3
4
5
6
7
8
9
void PicStateBtn::SlotStart()
{
setNormal2Icon();
}

void PicStateBtn::SlotStop()
{
setNormalIcon();
}

我们回到SlideShowDlg.ui文件,将playBtn升级为PicStateBtn。
然后在SlideShowDlg的构造函数里为按钮设置图标,并且将PicAnimationWid的SigStart和SigStop信号与之连接起来

1
2
3
4
5
ui->playBtn->SetIcons(":/icon/play.png",":/icon/play_hover.png",":/icon/play_press.png",
":/icon/pause.png",":/icon/pause_hover.png",":/icon/pause_press.png");
//连接动画和按钮显示状态
connect(ui->picAnimation,&PicAnimationWid::SigStart, ui->playBtn, &PicStateBtn::SlotStart);
connect(ui->picAnimation,&PicAnimationWid::SigStop, ui->playBtn, &PicStateBtn::SlotStop);

这样动画一开始按钮就被设置为暂停图标,表示动画正在运行,点击暂停图标又会切换为运行图标,表示动画已经暂停。

关闭按钮

SlideShowDlg的关闭按钮比较影响体验,我们隐藏边框上的按钮,在构造函数里添加

1
this->setWindowFlags(Qt::Dialog|Qt::FramelessWindowHint);

升级SlideShowDlg的ui文件中的closeBtn为PicButton,并且在构造函数里添加加载图标的逻辑和信号连接。

1
2
3
4
ui->closeBtn->SetIcons(":/icon/closeshow.png",":/icon/closeshow_hover.png",
":/icon/closeshow_press.png");
//连接关闭按钮
connect(ui->closeBtn, &QPushButton::clicked, this, &SlideShowDlg::close);

这样就能响应关闭按钮的事件了。

切换跳转

我们需要点击向前和向后按钮,实现动画图片的切换,这里先升级SlideShowDlg的ui文件中的slidenextBtn和slidpreBtn按钮为PicButton
然后在构造函数添加加载逻辑和信号连接

1
2
3
4
5
6
7
8
9
10
11
ui->slidpreBtn->SetIcons(":/icon/previous.png",
":/icon/previous_hover.png",
":/icon/previous_press.png");

ui->slidenextBtn->SetIcons(":/icon/next.png",
":/icon/next_hover.png",
":/icon/next_press.png");
//连接向后查看按钮
connect(ui->slidenextBtn, &QPushButton::clicked,this,&SlideShowDlg::SlotSlideNext);
//连接向前查看按钮
connect(ui->slidpreBtn, &QPushButton::clicked,this,&SlideShowDlg::SlotSlidePre);

这两个槽函数内部调用了PicAnimationWid的SlideNext和SlidePre

1
2
3
4
5
6
7
8
9
void SlideShowDlg::SlotSlideNext()
{
ui->picAnimation->SlideNext();
}

void SlideShowDlg::SlotSlidePre()
{
ui->picAnimation->SlidePre();
}

PicAnimationWid的两个函数分别实现图片的切换

1
2
3
4
5
6
7
8
9
10
11
12
13
14
15
16
17
18
19
20
21
22
23
24
25
26
27
28
29
30
31
32
void PicAnimationWid::SlideNext()
{
Stop();
if(!_cur_item){
return;
}

auto * cur_pro_item = dynamic_cast<ProTreeItem*>(_cur_item);
auto * next_item = cur_pro_item->GetNextItem();
if(!next_item){
return;
}
SetPixmap(next_item);
update();
}

void PicAnimationWid::SlidePre()
{
Stop();
if(!_cur_item){
return;
}

auto * cur_pro_item = dynamic_cast<ProTreeItem*>(_cur_item);
auto * pre_item = cur_pro_item->GetPreItem();
if(!pre_item){
return;
}

SetPixmap(pre_item);
update();
}

切换后动画暂停,变为显示图片的状态。
为了美观,我们完善一下qss

1
2
3
4
5
6
7
8
9
10
11
12
13
14
15
16
17
18
19
20
21
22
23
24
25
26
27
28
29
30
31
32
33
#preListWidget {
color:rgb(231,231,231);
background-color:rgb(46,47,48);
border: 0px;
}

#preListWidget::item:hover {
background: rgb(38, 95, 153);
}

#preListWidget::item:selected {
background: rgb(38, 95, 153);
}

#slidpreBtn,#slidenextBtn,#playBtn {
border: 0px;
}

#slideprewid {
margin-left:10px;
}

#slidenextwid{
margin-right:10px;
}

#preListWidget::item:selected:active{
border: 2px solid #FFFFFF;
}

#preListWidget::item:selected{
border: 2px solid #FFFFFF;
}

将按钮设置为无边框,然后设置了preListWidget的边框和边距等信息。

添加音乐

为了让动画播放过程中能够播放音乐,我们在mainwindow的菜单里添加音乐菜单。

1
2
3
4
5
6
//设置背景音乐动作
QAction * act_music = new QAction(QIcon(":/icon/music.png"), tr("背景音乐"),this);
act_music->setShortcut(QKeySequence(Qt::CTRL + Qt::Key_M));
menu_set->addAction(act_music);
//设置音乐
connect(act_music, &QAction::triggered, pro_tree_widget, &ProTreeWidget::SlotSetMusic);

在打开音乐的槽函数里弹出一个文件夹对话框

1
2
3
4
5
6
7
8
9
10
11
12
13
14
15
16
17
18
19
20
21
22
23
24
25
26
27
28
29
30
31
32
void ProTreeWidget::SlotSetMusic(bool)
{
qDebug() << "SlotSetMusic" <<endl;
QFileDialog file_dialog;
file_dialog.setFileMode(QFileDialog::ExistingFiles);
file_dialog.setWindowTitle("选择导入的文件夹");

file_dialog.setDirectory(QDir::currentPath());
file_dialog.setViewMode(QFileDialog::Detail);
file_dialog.setNameFilter("(*.mp3)");

QStringList fileNames;
if (file_dialog.exec()){
fileNames = file_dialog.selectedFiles();
}

if(fileNames.length() <= 0){
return;
}

_playlist->clear();

for(auto filename : fileNames){
qDebug() << "filename is " << filename << endl;
_playlist->addMedia(QUrl::fromLocalFile(filename));
}

if(_player->state()!=QMediaPlayer::PlayingState)
{
_playlist->setCurrentIndex(0);
}
}

文件夹对话框返回选择的文件列表,我们将文件列表加入播放列表_playlist。然后通过判断_player的状态设置索引。
_player为QMediaPlayer类型,_playlist为QMediaPlaylist类型,我们需要在pro里添加multimedia才能使用。

1
QT       += core gui multimedia

另外要在protreewidget头文件包含

1
2
#include<QtMultimedia/QMediaPlayer>
#include<QtMultimedia/QMediaPlaylist>

然后在SlideShowDlg的构造函数添加播放音乐和停止音乐的槽函数

1
2
3
4
5
6
//连接音乐启动信号
connect(ui->picAnimation, &PicAnimationWid::SigStartMusic, _protree_widget,
&ProTreeWidget::SlotStartMusic);
//连接音乐关闭信号
connect(ui->picAnimation,&PicAnimationWid::SigStopMusic, _protree_widget,
&ProTreeWidget::SlotStopMusic);

播放音乐和停止音乐逻辑很简单

1
2
3
4
5
6
7
8
9
10
11
void ProTreeWidget::SlotStartMusic()
{
qDebug()<< "ProTreeWidget::SlotStartMusic" << endl;
_player->play();
}

void ProTreeWidget::SlotStopMusic()
{
qDebug()<< "ProTreeWidget::SlotStopMusic" << endl;
_player->pause();
}

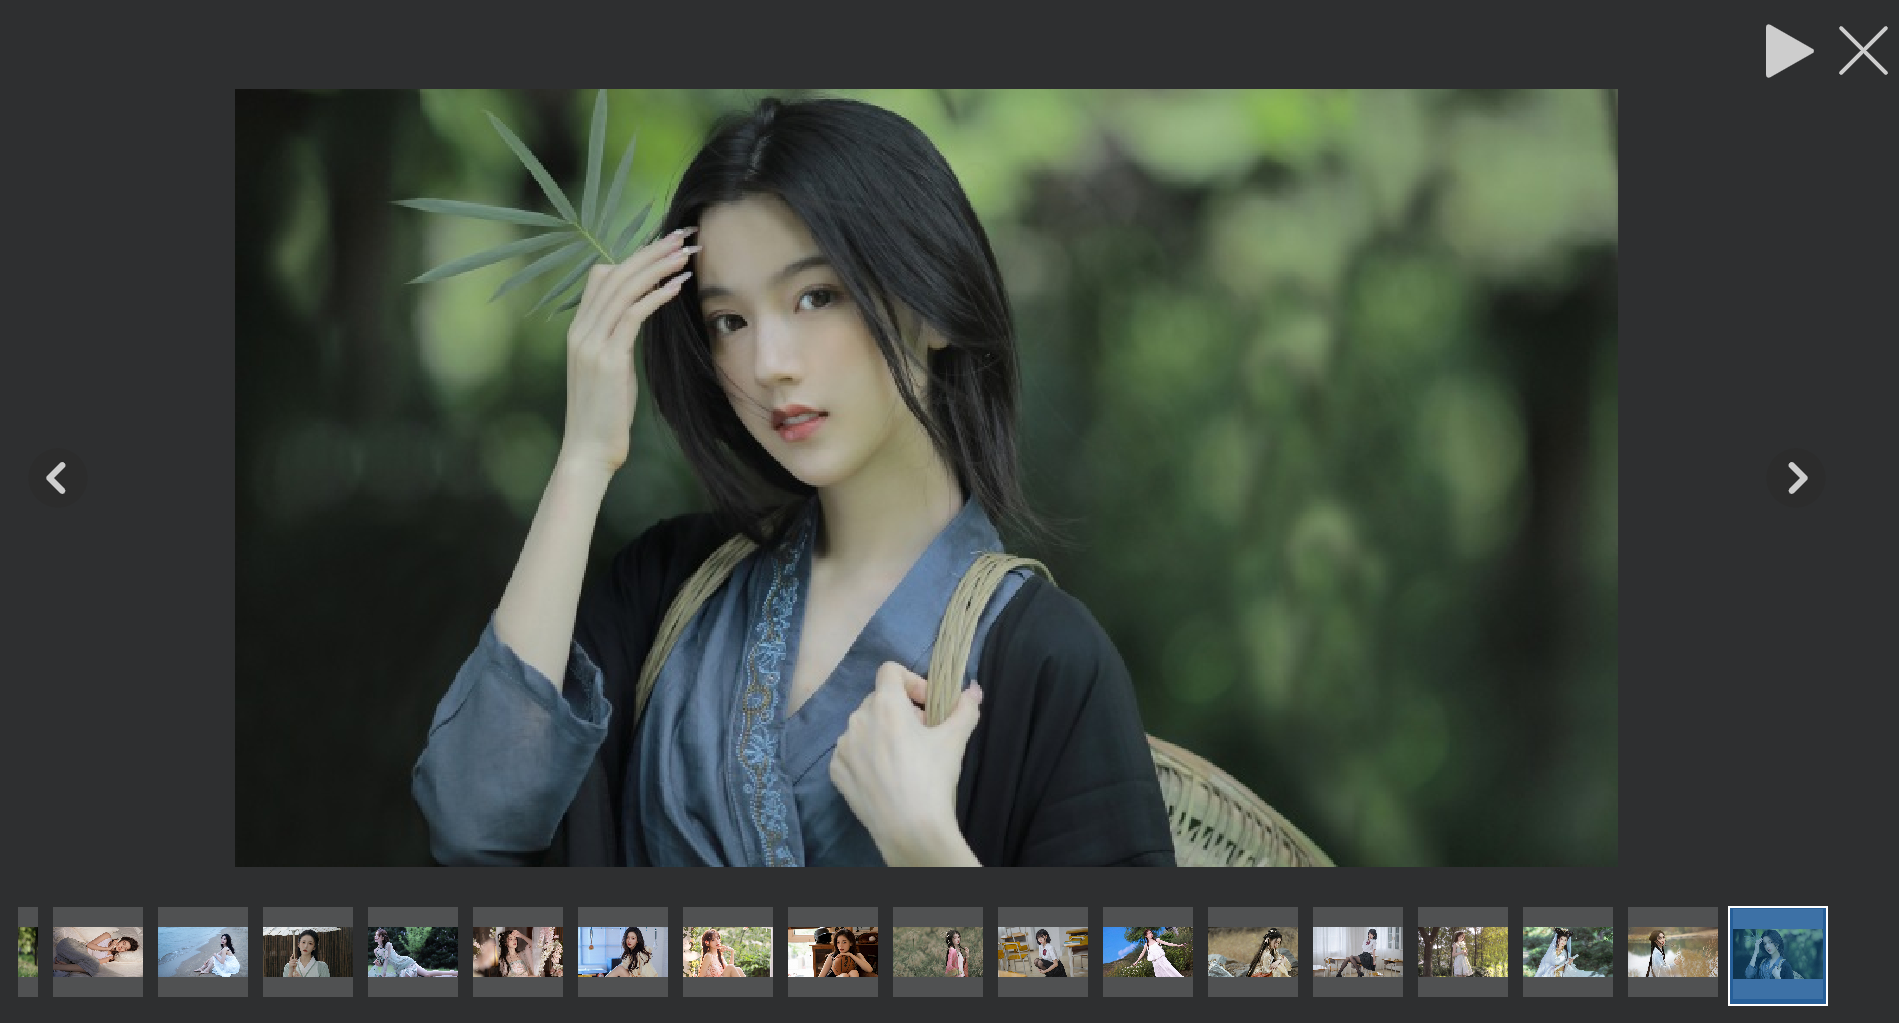
到此为止就完成了动画播放的所有逻辑,这里是整体效果图
https://cdn.llfc.club/1675153305157.jpg

源码链接

源码链接
https://gitee.com/secondtonone1/qt-learning-notes